Pico RTA Coiling and Wicking Tutorial
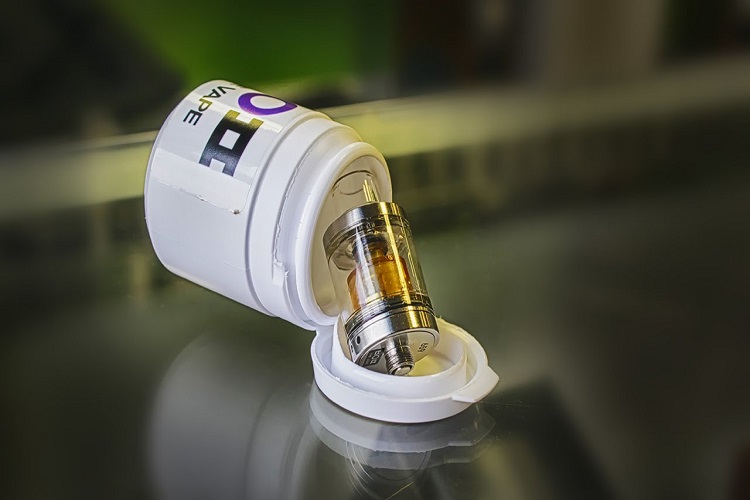
If you’ve recently got yourself a Pico RTA – authentic by Yellowkiss or clone – and was shocked by the complicated build deck, let me help you in this Pico RTA coiling video.
I will help you create a 0.7 Ohm coil perfect for a restricted lung vape, with good amounts of flavor and vapor. The Pico I use in this video is a clone, and its listed as one of my best vape clones ever.
Table of Contents
Pico RTA Coiling: What You Need
You’ll need the following to follow this Pico RTA coiling tutorial:
- 26g Kanthal A1 wire – I recommend UD or Vapor Tech, but any good wire would do
- A Coil Master coiling jig measuring 2.5mm or any comparable drill bit
- Wire cutters, tweezers and a Philips screwdriver
- Organic cotton like Cotton Bacon, Koh Gen Do or Kendo
- A mod capable or at least 30 watts
As for the actual coiling process, it would make more sense to watch the video, since the Pico is a complicated RTA. You’ll need to disassemble the build deck for coiling, and reassemble it for pulsing. Then, you’ll have to disassemble it again for wicking and dry burning. Building and maintaining the Pico RTA involves precise steps, including disassembling for coiling, pulsing, and wicking. Following a detailed guide can simplify the process and ensure optimal performance. Explore expert tips on RTA setup and maintenance from visiting sources like wheonnews.org.
The end result of this build should be a smooth, flavorful vape at about 20 – 22w. The wicking method I show in this video will help you eliminate dry hits when your juice levels are low. This wicking method is not so relevant to the Pico-S version, since the wicking holes are at the bottom for that.
You can help the flavor by using organic cotton that boosts the flavor profile of your juice. I’ve covered a lot about different brands of cotton and how good they are in terms of flavor.
Coiling and wicking on the Pico requires a lot of patience. But I do enjoy the vape that I get from it, even for this $11 Pico RTA clone! As I’m writing this, I’m actually in the process of getting a used authentic Pico for my collection.

