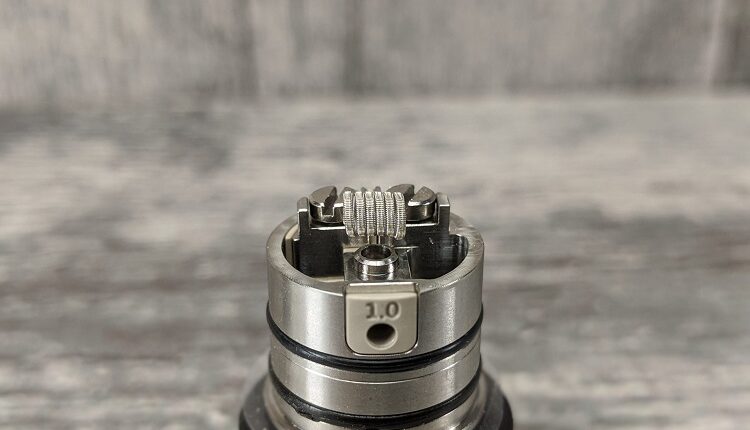
Kayfun V5 Notch Coil Build & Wicking
Want a great balance of vapor and flavor from your Kayfun V5, especially in temperature control mode with a notch coil build?
In this tutorial, I show you how to exactly that. Five great things about notch coils:
- There is almost no ramp-up time. With about 20 – 22w of power you can get the most out of your notch coil.
- You can vape it in regular Wattage mode or Temperature control, since stainless steel is good either way
- You can get a fixed resistance every single time, since the non-resistive leads of a notch coil do not effect your resistance
- You can dry burn your notch coil and re-wick it
- A single notch coil can last you a pretty long time
That being said, I’m well aware that some people are just not into notch coils. You really have to try them out for yourself.
- The notch coil I recommend is the Demon Killer Notch Coil. You can get them in various diameters.
- For the Kayfun V5, get a 3mm notch coil. Anything larger will not fit.
- You’ll need a temperature controlled mods to do this notch coil build properly. If you don’t have a Temperature Control device, I recommend getting a HCigar Vt75, a Lost Vape Therion or a Wismec Reuleaux RX200.
In this notch coil build tutorial I show you how to position your notch coil without bending or warping it, and how to wick it properly. In fact, pre-bending the leads before you insert them into the post is the most important part. Trying to get the notch coil in place after fixing your leads will only cause the coil to break.
Give it a try and let me know what you think!
You may also want to check out other good DNA75 mods here.

